> For the complete documentation index, see [llms.txt](https://doc.bunq.com/llms.txt). Markdown versions of documentation pages are available by appending `.md` to page URLs; this page is available as [Markdown](https://doc.bunq.com/tutorials/access-end-user-acount-information-through-oauth/setting-up-the-oauth-client.md).

# Setting up the Oauth Client

For this tutorial we want to read the transactions on behalf of a end user. Te first thing we need to do is register a oauth client. There are 2 ways to do this and we'll dive into both of them. In this chapter we try to register the client and retrieve the client ID and Client Secret that belong to your oauth client.

## 1. Register oauth client as a bunq user

If you have access to a bunq account then it's fairly straight forward to set up an oauth client.

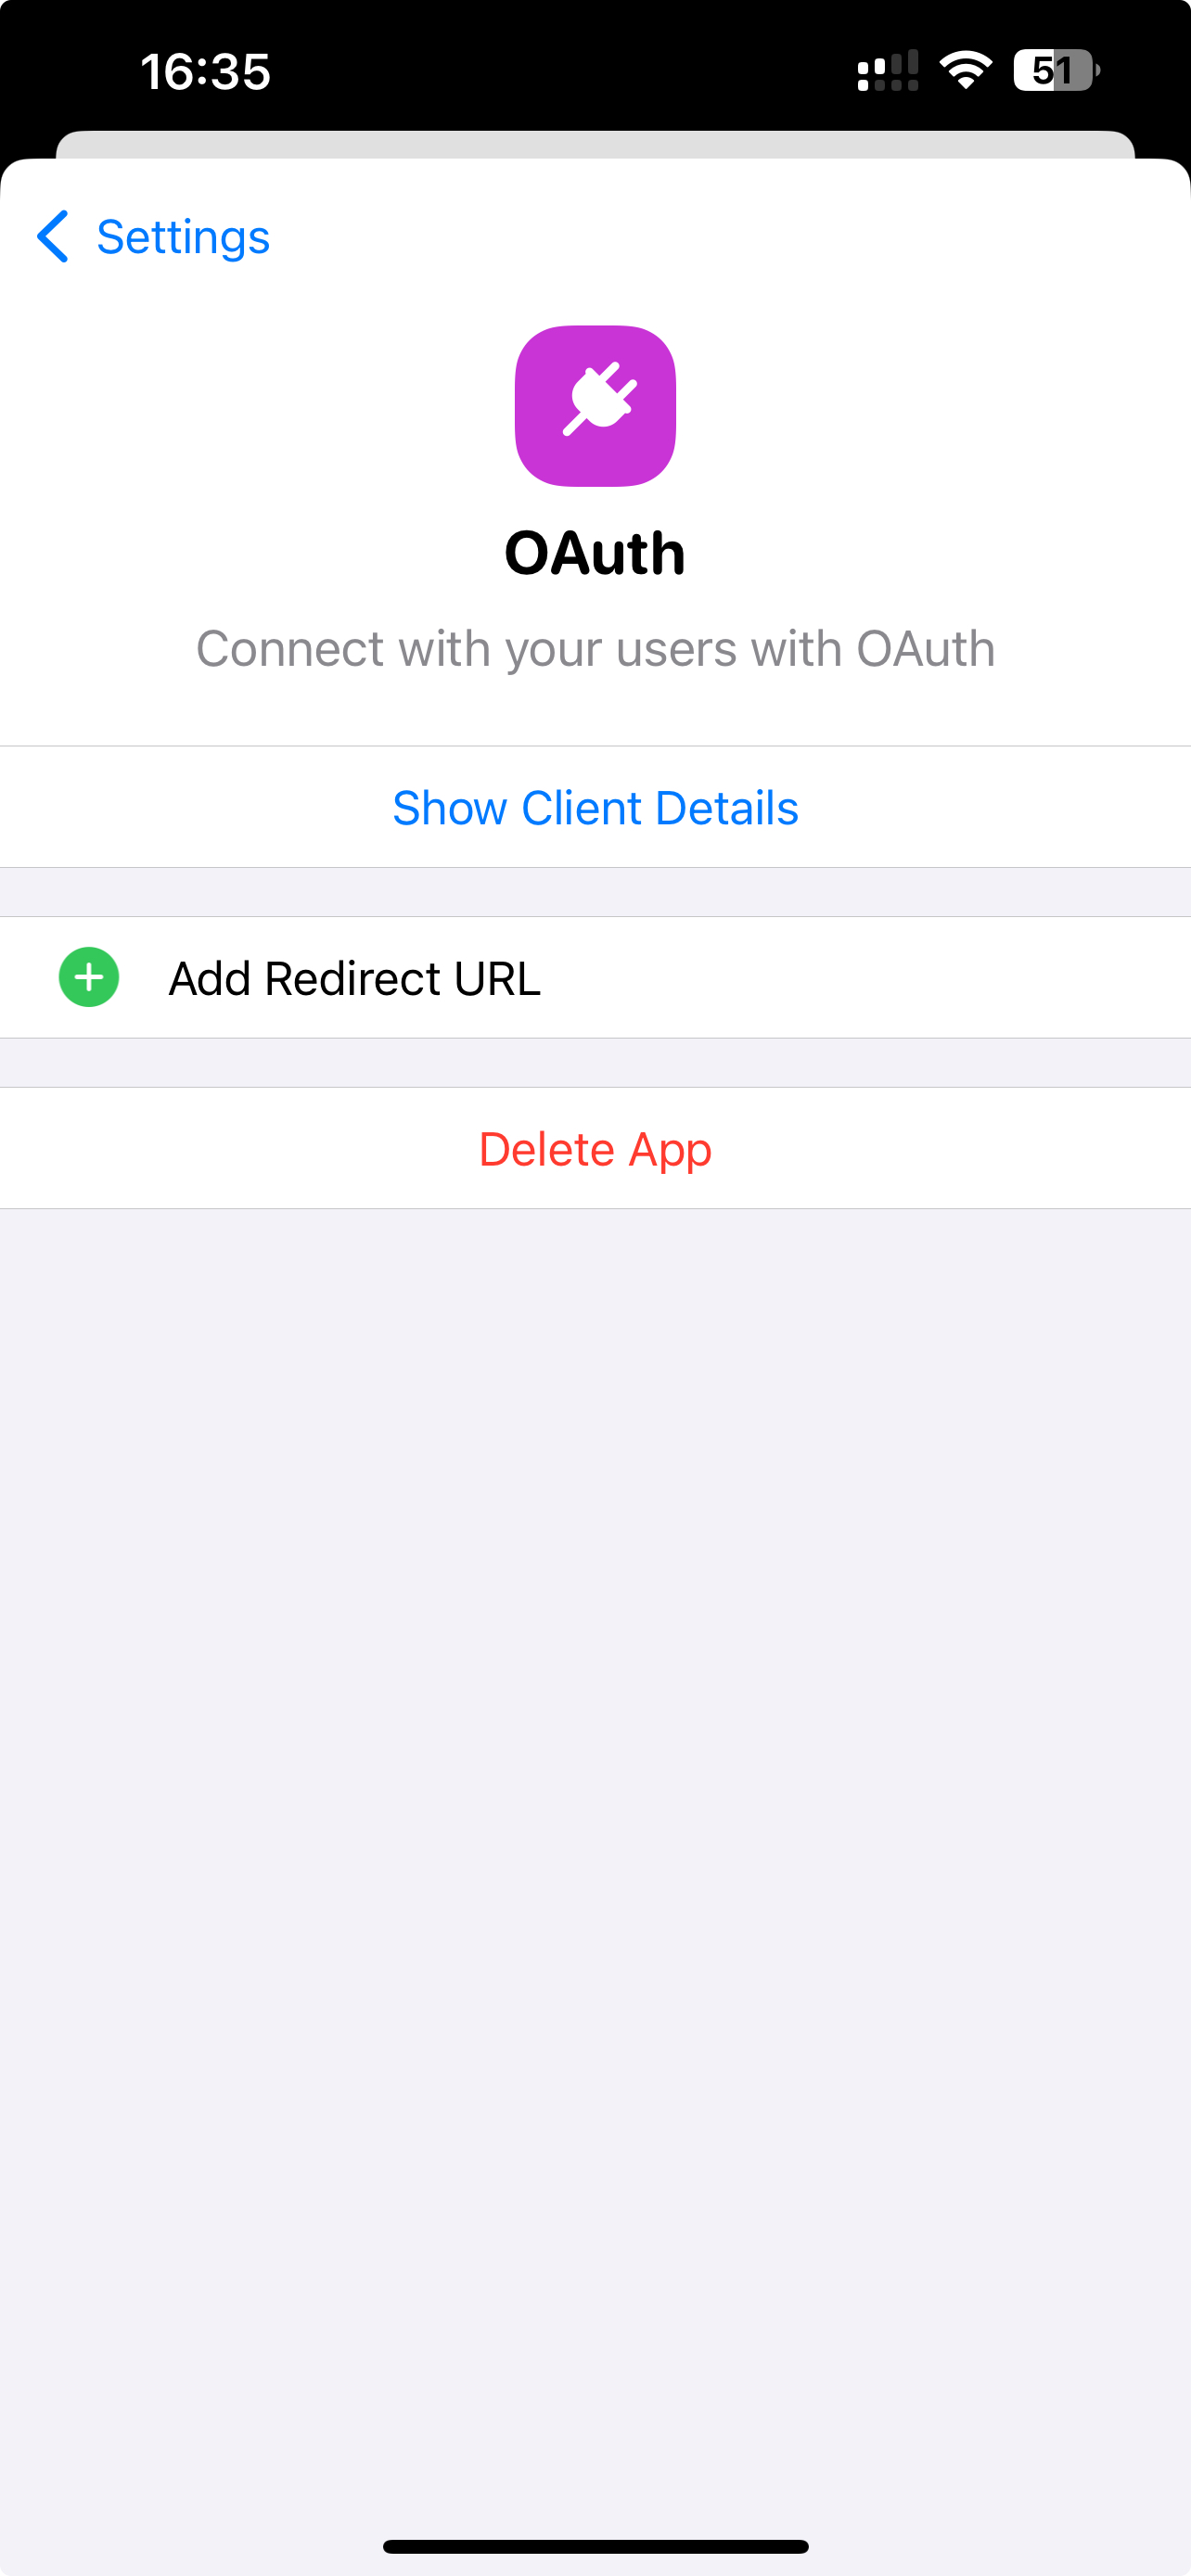
You can simply retrieve your oauth client ID and Secret from the bunq app. This is also the easiest way to set up a redirect URL (More on this later).

<figure><img src="https://346554585-files.gitbook.io/~/files/v0/b/gitbook-x-prod.appspot.com/o/spaces%2FGE9Y1hc6C24r4Hen6KFH%2Fuploads%2Fgit-blob-7af175d38e15fb19d3e60170a196f06f17eccf84%2Foauthapp.jpeg?alt=media" alt="" width="375"><figcaption><p>Screen in bunq app where you can set up your oauth client</p></figcaption></figure>

Another way is to register the client on the [Broken mention](broken://pages/glvIAX6lW191kCjCcygI).

{% hint style="info" %}
End users will see your (business) name when they grant access to their bank account . That looks like this:

<img src="https://private-user-images.githubusercontent.com/71013416/447534152-cfea9651-f5e7-4286-9cc8-36282913a18b.png?jwt=eyJhbGciOiJIUzI1NiIsInR5cCI6IkpXVCJ9.eyJpc3MiOiJnaXRodWIuY29tIiwiYXVkIjoicmF3LmdpdGh1YnVzZXJjb250ZW50LmNvbSIsImtleSI6ImtleTUiLCJleHAiOjE3NTA2OTA3NTQsIm5iZiI6MTc1MDY5MDQ1NCwicGF0aCI6Ii83MTAxMzQxNi80NDc1MzQxNTItY2ZlYTk2NTEtZjVlNy00Mjg2LTljYzgtMzYyODI5MTNhMThiLnBuZz9YLUFtei1BbGdvcml0aG09QVdTNC1ITUFDLVNIQTI1NiZYLUFtei1DcmVkZW50aWFsPUFLSUFWQ09EWUxTQTUzUFFLNFpBJTJGMjAyNTA2MjMlMkZ1cy1lYXN0LTElMkZzMyUyRmF3czRfcmVxdWVzdCZYLUFtei1EYXRlPTIwMjUwNjIzVDE0NTQxNFomWC1BbXotRXhwaXJlcz0zMDAmWC1BbXotU2lnbmF0dXJlPWYxOGViYTE3Njg1NThiOWE1ZWNiZjE1NWY5YWMyNmU2ODA1YWYxODg4N2U3MmVjNzU4ODg2NjhiYTVmMDRlZWEmWC1BbXotU2lnbmVkSGVhZGVycz1ob3N0In0.t6eSsjwMAJ-H5Pi-LWs1XgbEeJqhyDs6YFsizXN0Bk8" alt="" data-size="original">
{% endhint %}

## 2. Register as a PSD2 user

In some cases you may not be a bunq user yourself but still want access to bunq user data. For instance when you're a PSD2-certified third-party provider (TPP), you can integrate directly with the bunq Public API using your **eIDAS certificate**.

This guide walks you through the step-by-step process to register and authenticate with the bunq environment.

<br>

This method to register a oauth client may not be applicable to you, if you're unsure refer to [PSD2](/psd2/are-you-a-third-party-provider-tpp-start-here.md). and [Are you a Third Party Provider (TPP)? Start here!](/psd2/are-you-a-third-party-provider-tpp-start-here.md)


---

# Agent Instructions
This documentation is published with GitBook. GitBook is the documentation platform designed so that both humans and AI agents can read, navigate, and reason over technical content effectively. Learn more at gitbook.com.

## Querying This Documentation
If you need additional information that is not directly available in this page, you can query the documentation dynamically by asking a question.

Perform an HTTP GET request on the current page URL with the `ask` query parameter, and the optional `goal` query parameter:

```
GET https://doc.bunq.com/tutorials/access-end-user-acount-information-through-oauth/setting-up-the-oauth-client.md?ask=<question>&goal=<endgoal>
```

`ask` is the immediate question: it should be specific, self-contained, and written in natural language.
`goal` is optional and describes the broader end goal you are ultimately trying to accomplish on behalf of the user. GitBook uses it to tailor the answer towards what is most useful for that goal.

The response will contain a direct answer to the question and relevant excerpts and sources from the documentation.

Use this mechanism when the answer is not explicitly present in the current page, you need clarification or additional context, or you want to retrieve related documentation sections.
